Elevating Your Virtual Tabletop Experience: A Guide to Importing Maps on Roll20
Related Articles: Elevating Your Virtual Tabletop Experience: A Guide to Importing Maps on Roll20
Introduction
With great pleasure, we will explore the intriguing topic related to Elevating Your Virtual Tabletop Experience: A Guide to Importing Maps on Roll20. Let’s weave interesting information and offer fresh perspectives to the readers.
Table of Content
Elevating Your Virtual Tabletop Experience: A Guide to Importing Maps on Roll20

Roll20, a leading virtual tabletop platform, empowers game masters and players to create immersive and interactive gaming experiences. A crucial element in this endeavor is the ability to seamlessly integrate custom maps. Importing maps onto Roll20 allows for detailed exploration, strategic gameplay, and enhanced visual storytelling. This comprehensive guide provides a step-by-step walkthrough of the map importing process, encompassing various file formats and advanced customization techniques.
Understanding the Benefits of Utilizing Maps on Roll20
Integrating maps into your Roll20 campaigns offers numerous advantages:
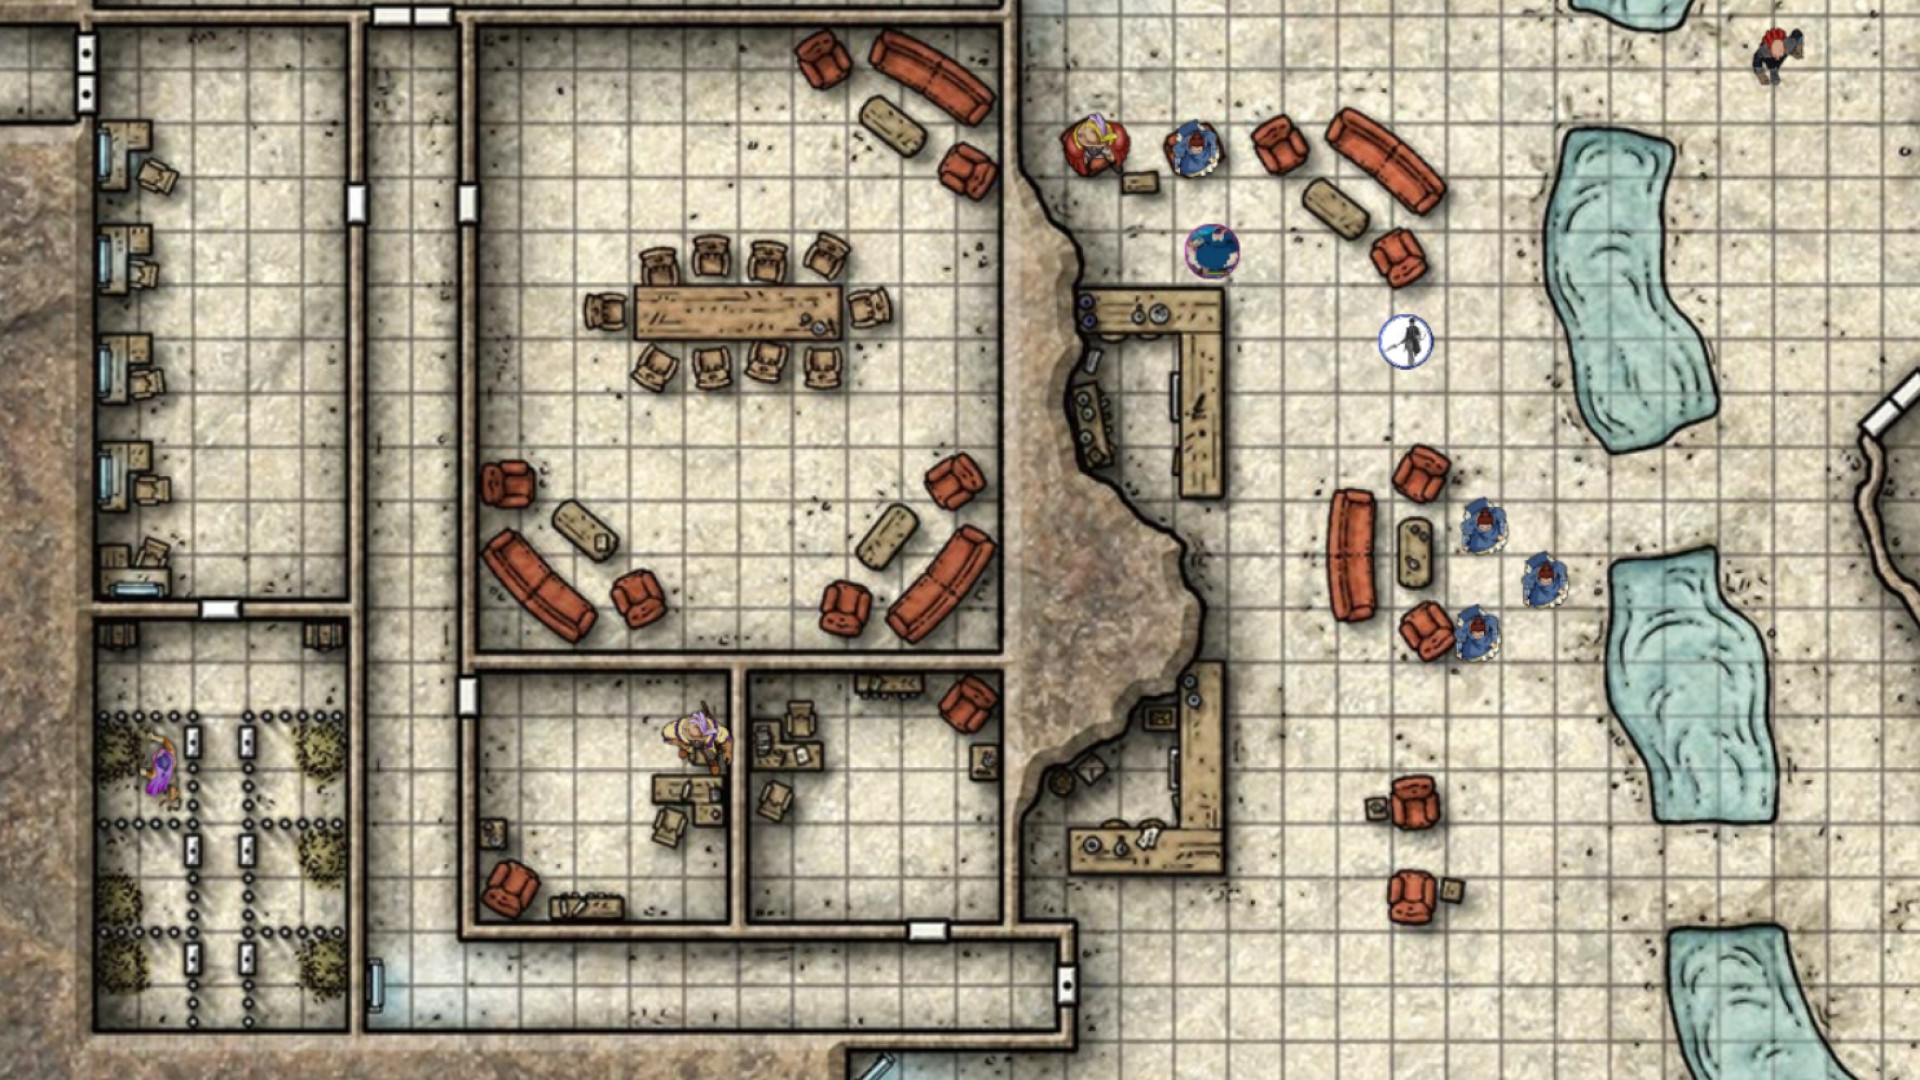
- Enhanced Visual Storytelling: Maps provide a visual context for your narrative, allowing players to better grasp the environment, locations, and relationships between different elements within the game world.
- Strategic Gameplay: Maps facilitate tactical decision-making and strategic planning, allowing players to visualize movement, engage in combat, and navigate the game world effectively.
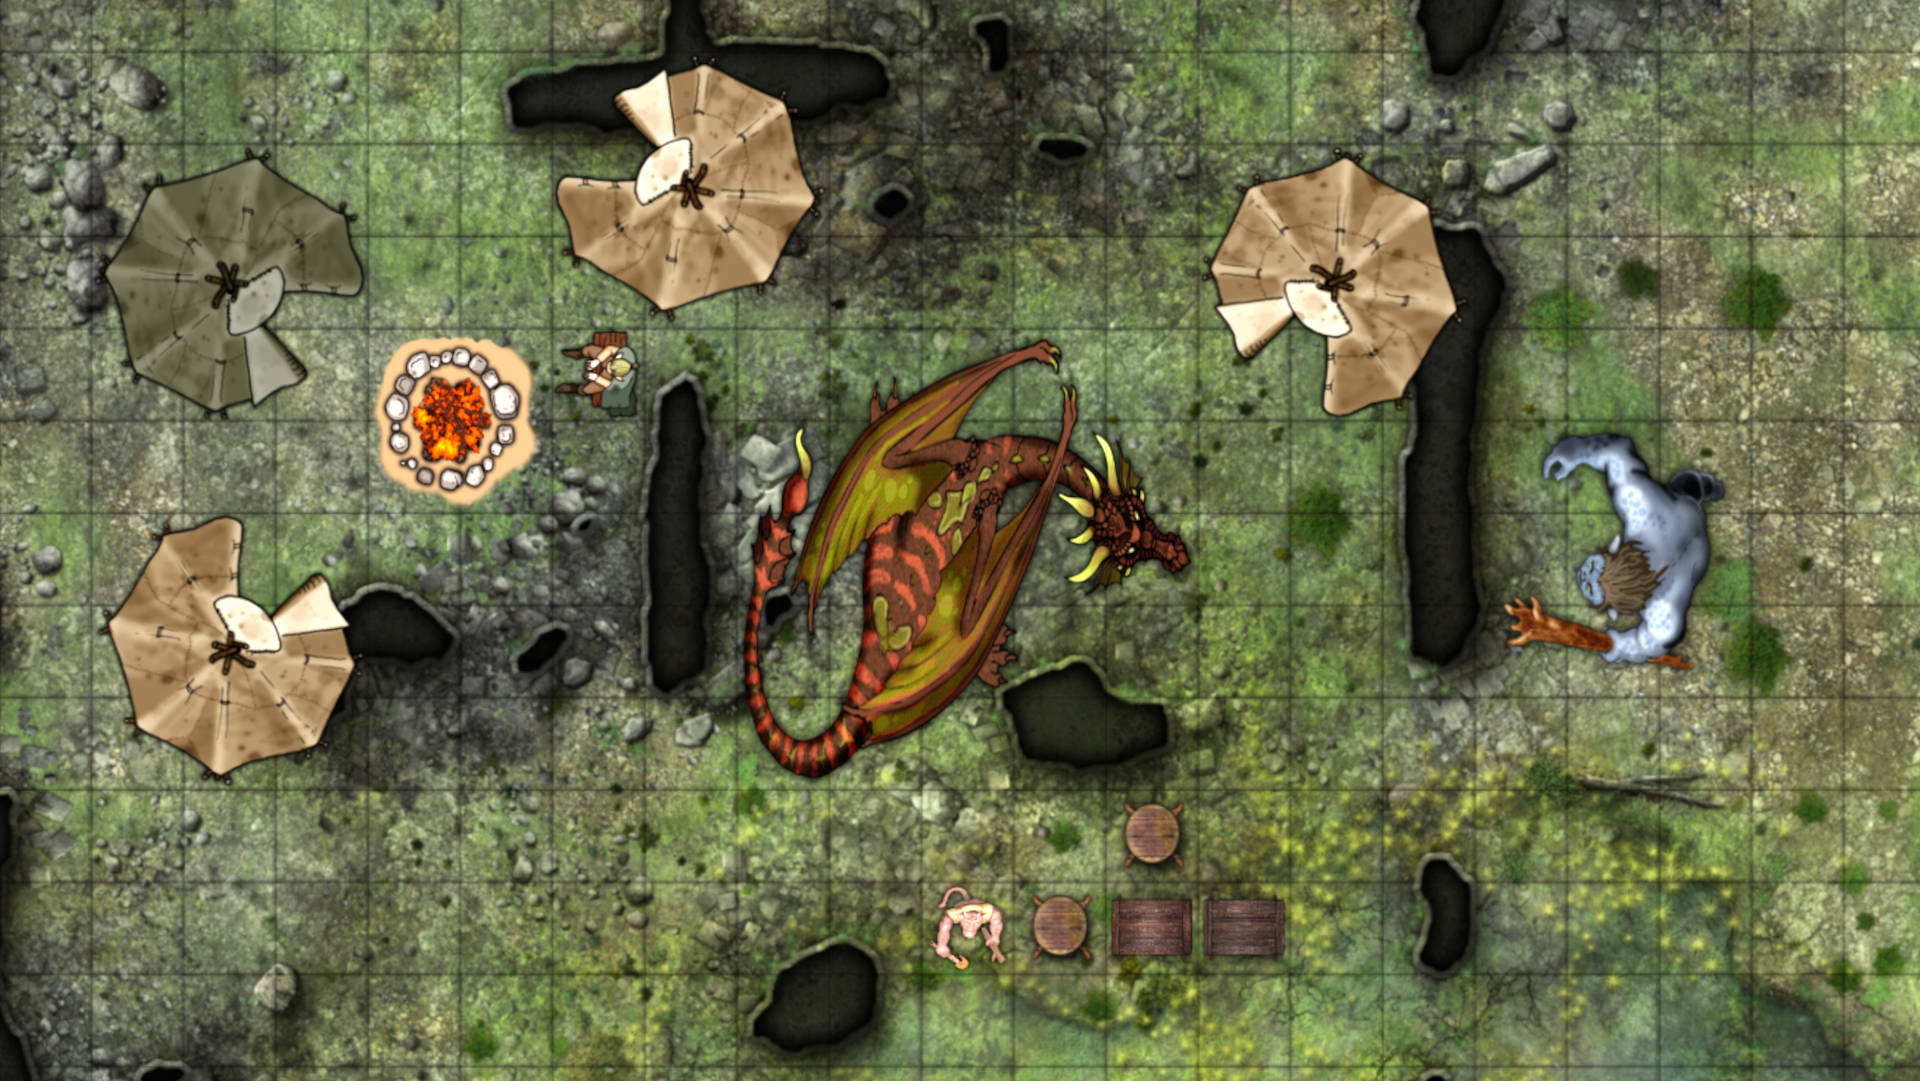
- Immersive Gameplay: Maps contribute to a more immersive experience by creating a tangible representation of the game world, fostering a stronger sense of presence and engagement for players.
- Collaborative Gameplay: Maps facilitate collaborative gameplay, allowing players to share information, plan strategies, and interact with the game world in a more engaging and interactive manner.
- Customization and Flexibility: Roll20 offers a wide range of map customization options, enabling game masters to tailor the game environment to their specific needs and preferences.
The Map Importing Process: A Detailed Walkthrough
1. Choosing the Right Map Format
Roll20 supports a variety of map file formats, each with its own strengths and limitations. The most common formats include:
- JPEG (.jpg) and PNG (.png): These are standard image formats suitable for displaying static maps with a high level of detail.
- TIFF (.tiff): This format offers lossless compression, preserving image quality even after multiple edits.
- GIF (.gif): While primarily known for animated images, GIFs can also be used for static maps, though they are generally less suitable for high-resolution maps.
- PDF (.pdf): PDF files can contain multiple pages, allowing you to create multi-level maps or include additional information alongside the map.
- SVG (.svg): Scalable Vector Graphics offer the ability to scale maps without losing quality, making them ideal for maps with intricate details.
2. Preparing Your Map for Upload
Before uploading your map, ensure it meets the following requirements:
- Resolution: The recommended resolution for Roll20 maps is 1920×1080 pixels or higher.
- File Size: Roll20 has a file size limit, so ensure your map is within the acceptable range.
- Color Depth: Maps with a higher color depth (e.g., 32-bit) will generally offer better quality and detail.
3. Accessing the Map Upload Feature on Roll20
To upload a map to Roll20, follow these steps:
- Log in to your Roll20 account.
- Navigate to the campaign or game where you wish to upload the map.
- Click on the "Journal" tab in the campaign sidebar.
- Select "Add New Entry" to create a new journal entry.
- Click on the "Add Image" icon in the editor toolbar.
- Choose the "Upload Image" option.
4. Uploading Your Map
- Select the map file from your computer.
- Choose the desired image size and quality settings.
- Click on the "Upload" button to upload the map to Roll20.
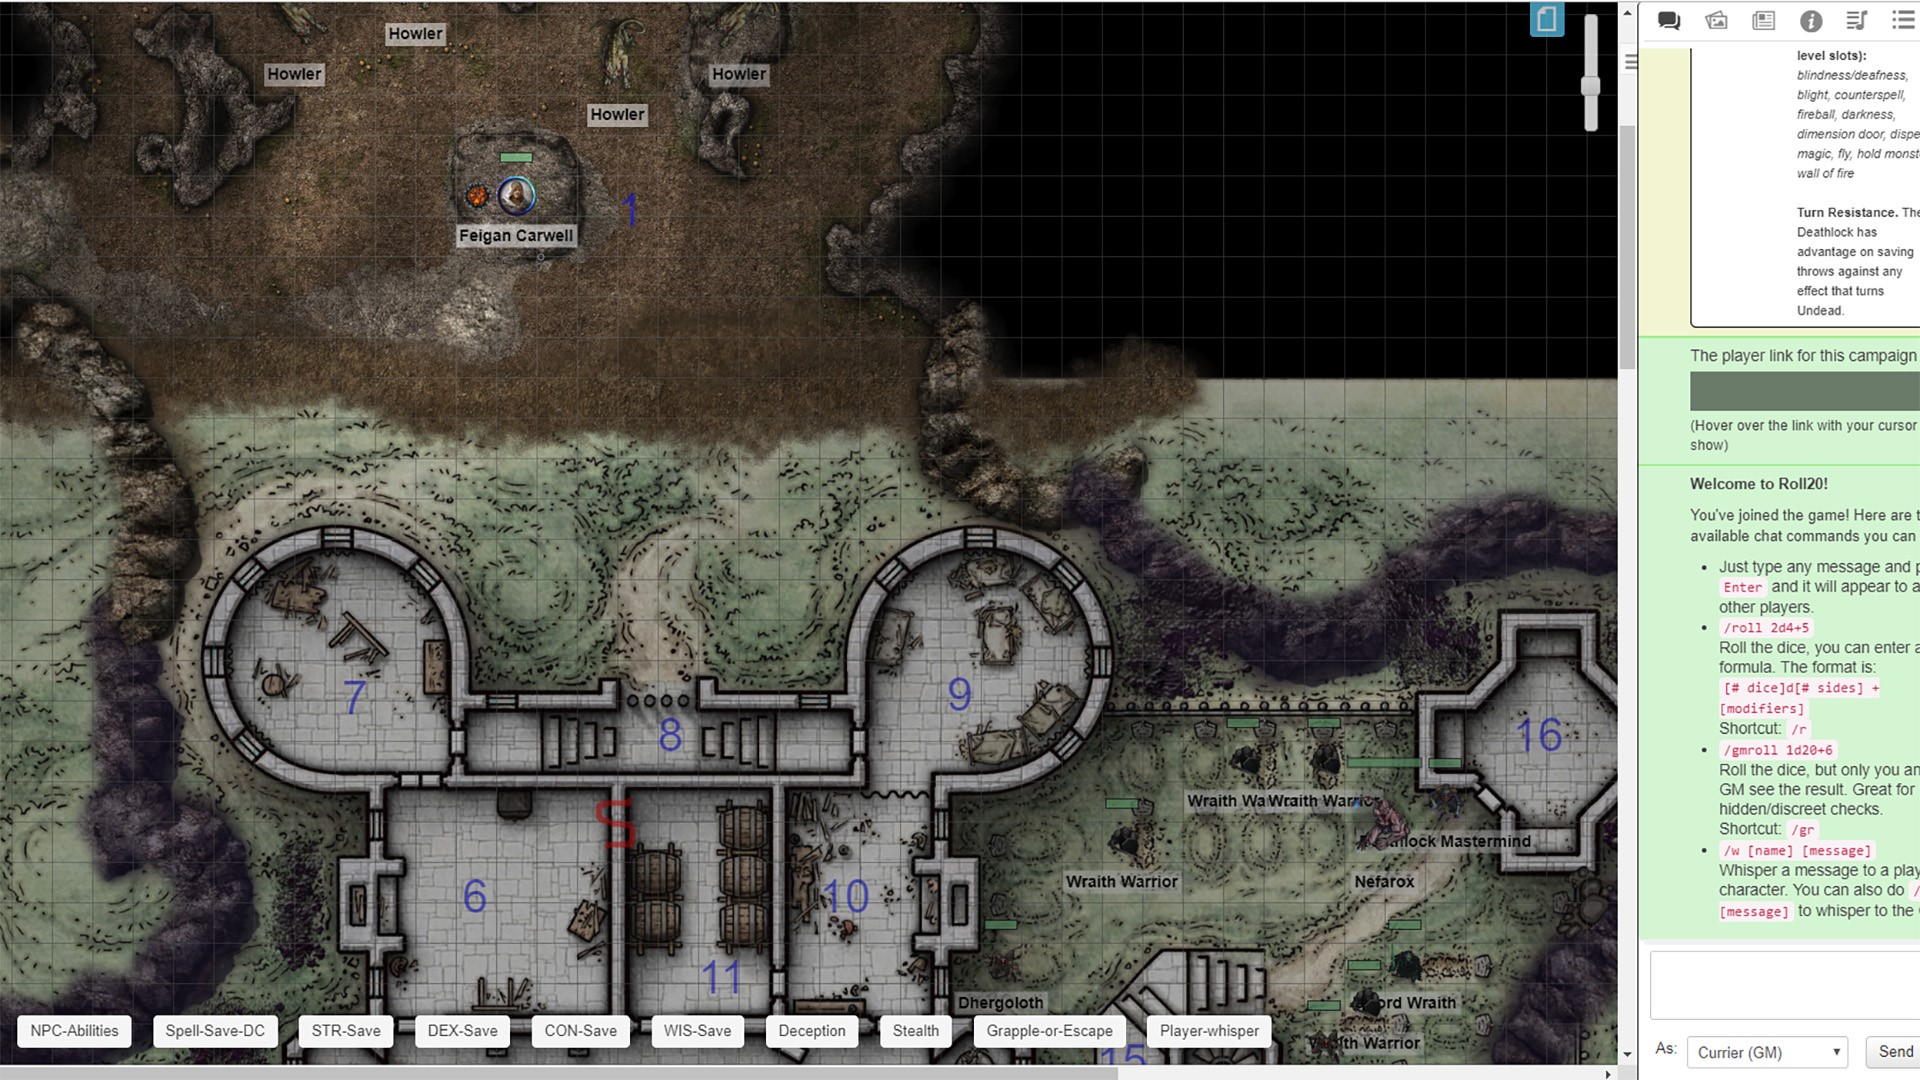
5. Integrating the Map into Your Game
Once uploaded, the map will appear in the journal entry. To use the map in your game, follow these steps:
- Click on the map image to open it in a new window.
- Select the "Add to Game" button to integrate the map into your game world.
- Choose the desired map size and position within the game window.
- Save your changes.
6. Advanced Map Customization
Roll20 offers a suite of tools for customizing your maps, enhancing their functionality and visual appeal:
- Dynamic Lighting: Use dynamic lighting to create a realistic atmosphere, casting shadows and illuminating areas based on light sources.
- Fog of War: Implement fog of war to obscure unexplored areas, adding an element of mystery and suspense to your game.
- Tokens and Markers: Place tokens and markers on the map to represent characters, objects, and other game elements.
- Drawing Tools: Utilize drawing tools to add annotations, highlight areas, or create custom elements on the map.
- Layers: Organize your map elements by creating layers, enabling you to control visibility and layering of different elements.
Tips for Optimizing Your Maps on Roll20
- Use high-resolution maps: Ensure your maps have a high resolution to maintain clarity and detail even when zoomed in.
- Compress large maps: If your map file is too large, consider compressing it to reduce file size without compromising quality.
- Utilize layers: Organize your map elements into layers to streamline editing and maintain clarity.
- Experiment with dynamic lighting: Dynamic lighting can significantly enhance the atmosphere and immersion of your game.
- Consider using a map editor: Specialized map editors offer advanced features for creating and editing maps, including tools for creating custom tilesets and adding dynamic elements.
FAQs about Map Importing on Roll20
Q: What are the limitations on map file size in Roll20?
A: The maximum file size for uploaded maps is 20MB. However, this limit may vary depending on your account type and subscription plan.
Q: Can I use maps created in other software programs on Roll20?
A: Yes, you can import maps created in programs such as Photoshop, Illustrator, or GIMP into Roll20, provided they are in a supported file format.
Q: How can I add dynamic lighting to my maps?
A: Roll20 offers a built-in dynamic lighting feature. To enable it, click on the "Lighting" icon in the map editor toolbar and select your desired lighting settings.
Q: How do I use fog of war on my maps?
A: To implement fog of war, navigate to the "Fog of War" section in the map editor toolbar and choose your desired fog of war settings.
Q: Can I import maps from external websites or online resources?
A: Roll20 allows you to import maps from external websites or online resources. However, ensure that you have the necessary permissions and licenses to use these maps.
Conclusion
Importing maps onto Roll20 is an essential step in creating immersive and engaging virtual tabletop experiences. By following this comprehensive guide, game masters can seamlessly integrate custom maps into their campaigns, enhancing visual storytelling, strategic gameplay, and overall immersion. With Roll20’s robust map customization tools and the ability to leverage various file formats, the possibilities for creating captivating game worlds are boundless.


Closure
Thus, we hope this article has provided valuable insights into Elevating Your Virtual Tabletop Experience: A Guide to Importing Maps on Roll20. We appreciate your attention to our article. See you in our next article!