Mastering the Warzone Uplink Locations: A Guide to Dominating the Satellite Uplink Contract
Related Articles: Mastering the Warzone Uplink Locations: A Guide to Dominating the Satellite Uplink Contract
Introduction
With great pleasure, we will explore the intriguing topic related to Mastering the Warzone Uplink Locations: A Guide to Dominating the Satellite Uplink Contract. Let’s weave interesting information and offer fresh perspectives to the readers.
Table of Content
Mastering the Warzone Uplink Locations: A Guide to Dominating the Satellite Uplink Contract
In the ever-evolving landscape of Call of Duty: Warzone, mastering the intricacies of the game is paramount to achieving victory. One crucial aspect that often dictates the flow of a match is the Satellite Uplink Contract. This contract, available in both standard and plunder modes, presents players with a unique challenge: locate and activate a series of Uplink locations scattered across the map.
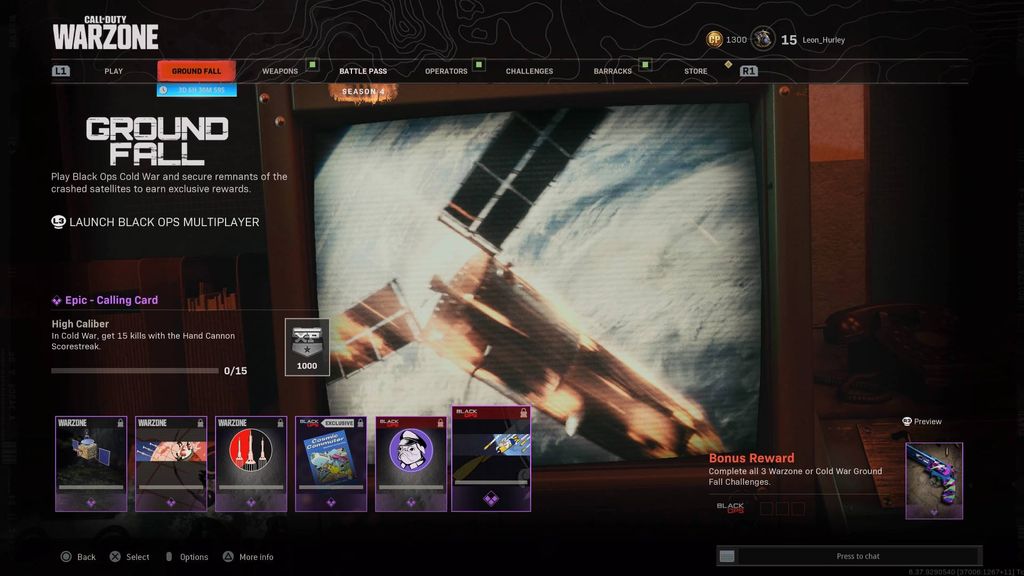
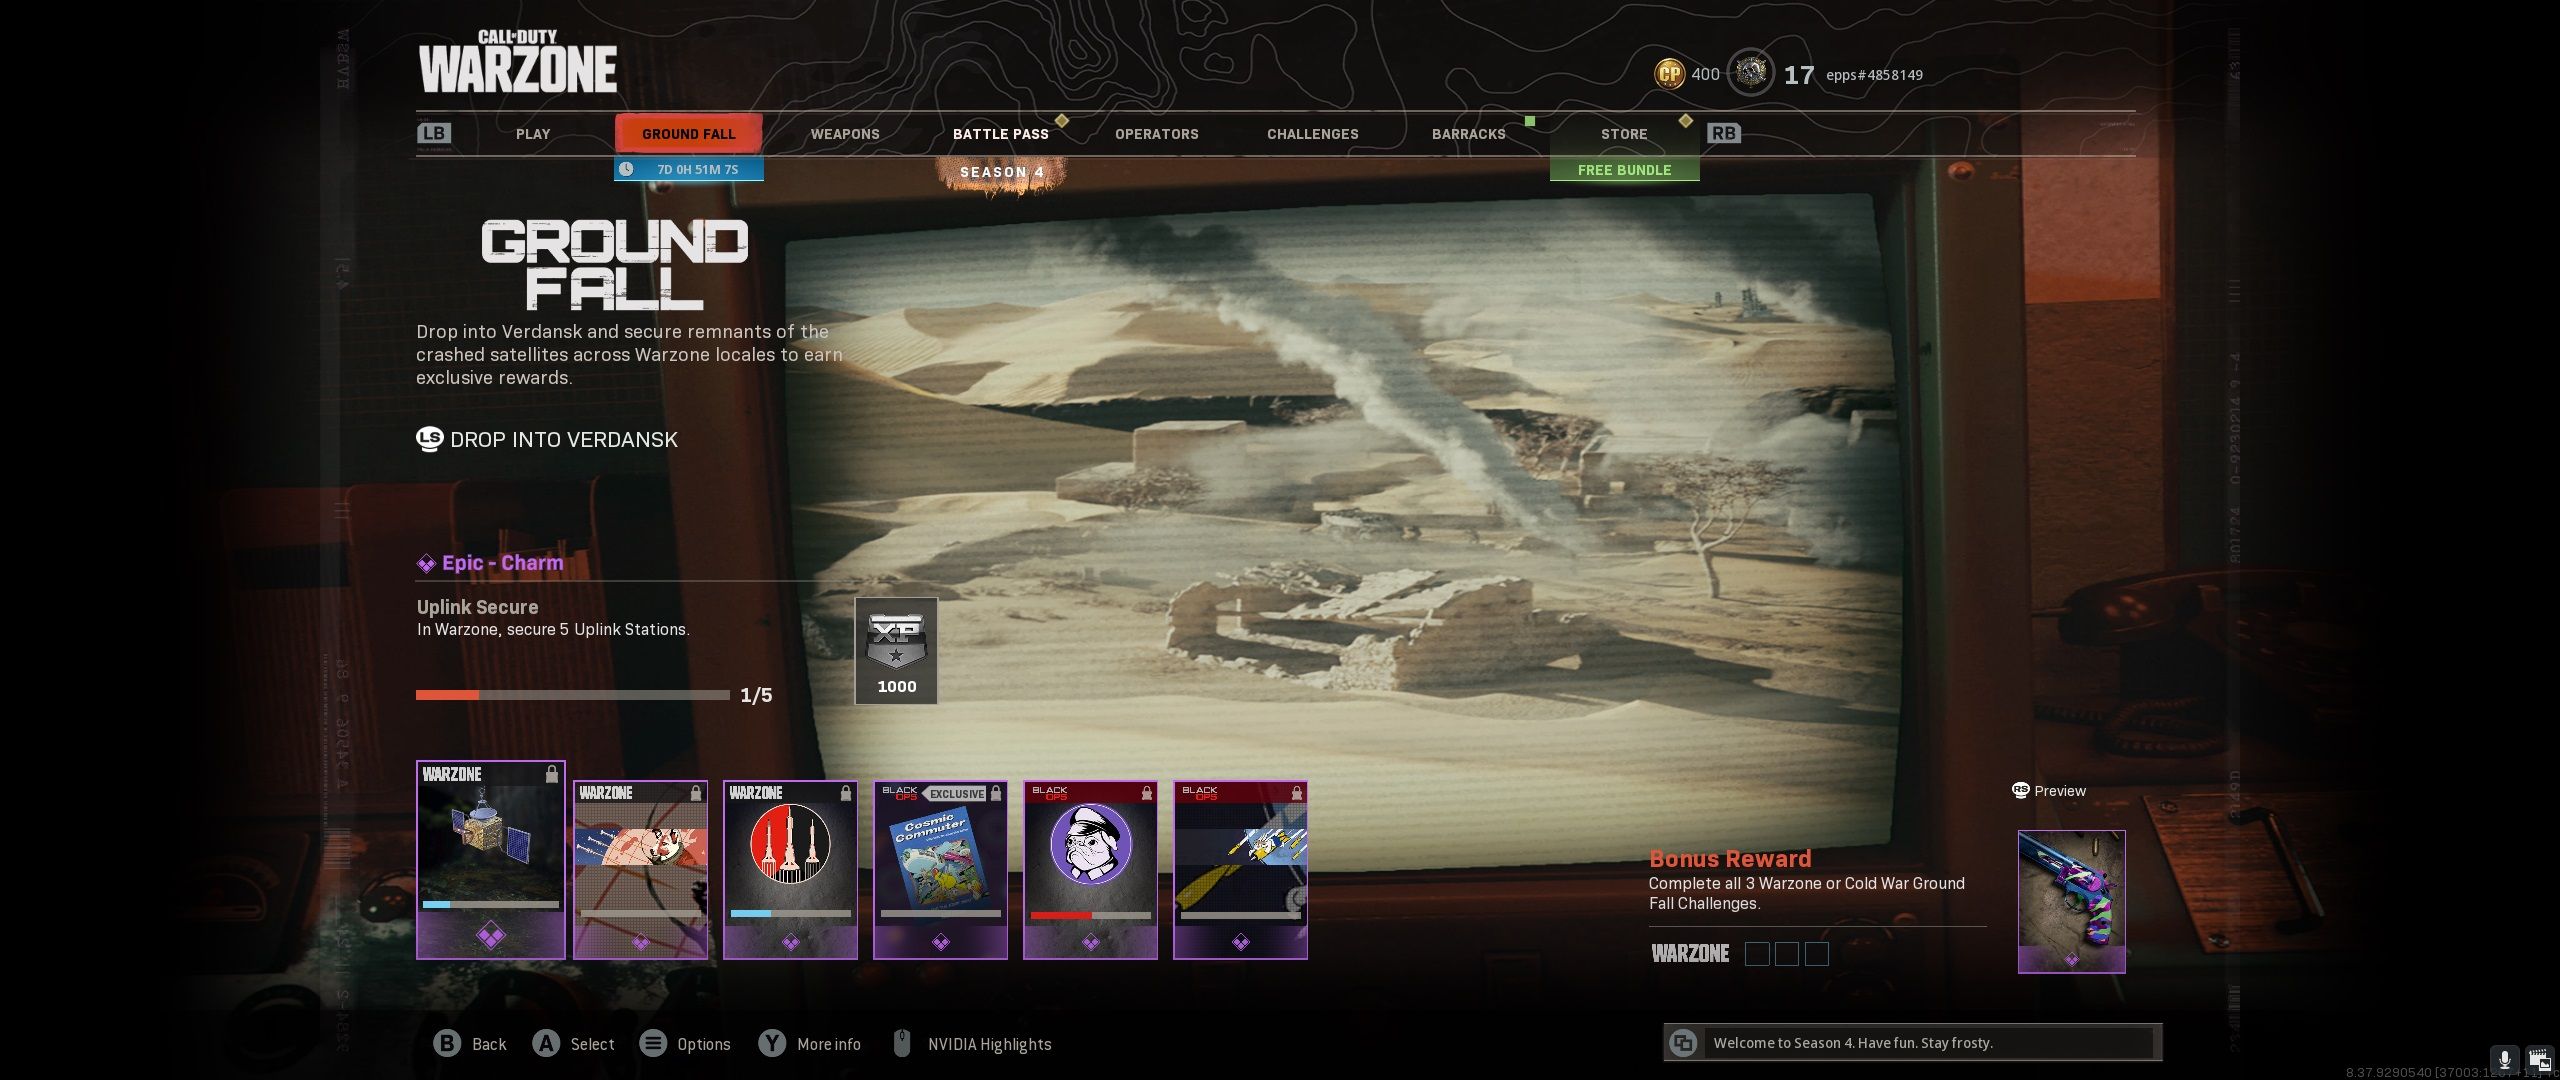
Successfully completing the Uplink Contract can lead to substantial rewards, including a significant cash bonus, a UAV reveal, and the deployment of a powerful Juggernaut suit. However, the task is not without its risks. The locations are often highly contested, attracting aggressive players seeking the same advantage. This guide will delve into the nuances of the Uplink Contract, providing a comprehensive understanding of the locations, strategies, and tips to maximize your chances of success.
Understanding the Uplink Contract
The Satellite Uplink Contract involves a series of steps:
- Contract Acquisition: Players must first obtain the Uplink Contract, either by purchasing it from a Buy Station or finding it randomly scattered across the map.
- Location Identification: Once acquired, the contract will reveal the location of the first Uplink beacon on the map.
- Uplink Activation: Players must reach the beacon location and interact with it, initiating the Uplink sequence.
- Uplink Protection: During the Uplink activation, players must defend the beacon from enemy players who may be attempting to disrupt the process.
- Beacon Relocation: Upon successful activation, the Uplink beacon will relocate to a new location, indicated on the map. Players must repeat steps 3 and 4 at each subsequent location.
- Contract Completion: Completing the Uplink sequence at all designated locations will trigger the final reward, typically a Juggernaut suit.
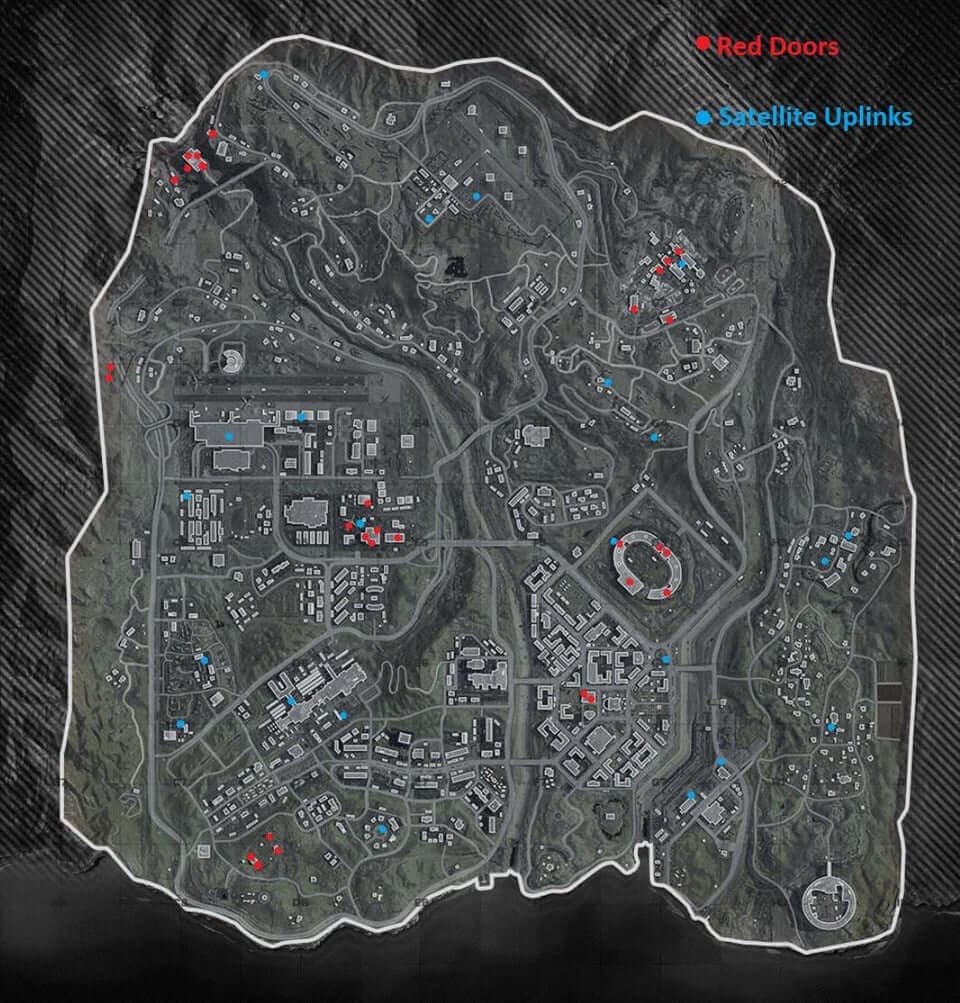
Navigating the Uplink Locations: A Comprehensive Map Breakdown
The Uplink locations are strategically dispersed across the Warzone map, often in high-traffic areas, demanding careful planning and execution. Here’s a detailed breakdown of the Uplink locations across various map versions, including Verdansk and Caldera:
Verdansk:
- Downtown: The heart of Verdansk offers multiple Uplink locations, including the iconic Stadium, the bustling Downtown area, and the high-rise buildings surrounding the central park.
- Military Base: This heavily fortified area is a prime target for Uplink beacons, offering a variety of strategic locations, including the barracks, the heliport, and the sprawling training grounds.
- Airport: This bustling hub is often a hotbed of activity, with Uplink locations scattered throughout the terminals, hangars, and surrounding parking lots.
- Prison: The desolate prison complex offers a unique set of Uplink locations, including the main prison yard, the guard towers, and the surrounding forested areas.
- Dam: The imposing Dam structure provides a challenging but rewarding Uplink location, often attracting skilled players.
- Suburban: The residential areas surrounding Verdansk offer a mix of open spaces and tight corridors, providing a variety of Uplink possibilities.
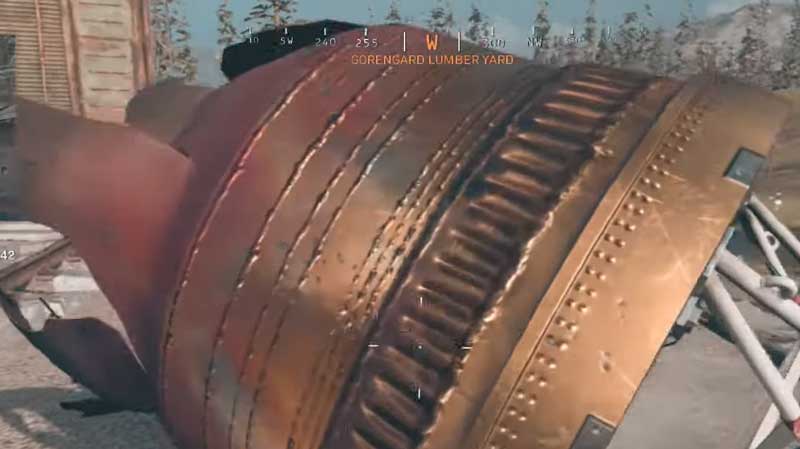
- Farmland: The vast farmland region presents a different set of challenges, with Uplink locations scattered across the fields, barns, and the surrounding forested areas.
Caldera:
- Peak: The towering Peak offers a strategic advantage, with Uplink locations scattered across its slopes, ridges, and the surrounding volcanic areas.
- Mines: The sprawling Mines region presents a unique set of challenges, with Uplink locations nestled within the mine shafts, processing plants, and surrounding hills.
- Lagoon: The serene Lagoon offers a mix of open spaces and tight corridors, providing a variety of Uplink possibilities.
- Beachhead: The strategic Beachhead offers a mix of open spaces and tight corridors, providing a variety of Uplink possibilities.
- Runway: The sprawling Runway offers a strategic advantage, with Uplink locations scattered across the runways, hangars, and surrounding buildings.
- Volcano: The imposing Volcano offers a challenging but rewarding Uplink location, often attracting skilled players.
- Capital City: The bustling Capital City offers multiple Uplink locations, including the iconic Palace, the surrounding buildings, and the central park.
Strategies for Success: Mastering the Uplink Contract
Successfully navigating the Uplink Contract requires a blend of strategy, tactical awareness, and quick reflexes. Here are some key strategies to improve your chances of success:
- Early Acquisition: Aim to secure the Uplink Contract early in the match, giving you ample time to strategize and prepare for the challenges ahead.
- Teamwork and Coordination: The Uplink Contract is best tackled as a team, allowing for effective communication, coordinated defense, and efficient relocation.
- Strategic Positioning: Select Uplink locations based on your team’s strengths and weaknesses, considering factors such as proximity to cover, visibility, and potential enemy threats.
- Adaptive Gameplay: Be prepared to adapt your approach based on the specific location and the actions of your opponents.
- Defensive Positioning: Utilize cover, flanking routes, and strategic positioning to maximize your defensive capabilities during the Uplink activation phase.
- Aggressive Counter-Play: If facing an opposing team attempting to complete the Uplink Contract, prioritize disrupting their progress by utilizing explosives, flanking maneuvers, and coordinated attacks.
- Effective Communication: Clear and concise communication with your team is crucial for coordinating movements, sharing intel, and adapting to changing circumstances.
FAQs: Addressing Common Uplink Contract Concerns
1. What are the benefits of completing the Uplink Contract?
Completing the Uplink Contract provides several advantages, including a significant cash bonus, a UAV reveal, and the deployment of a powerful Juggernaut suit.
2. How many Uplink locations need to be activated to complete the contract?
The number of Uplink locations varies depending on the map and the specific contract variant. Generally, completing the Uplink Contract requires activating between 3 to 5 locations.
3. Can the Uplink Contract be completed solo?
While technically possible, completing the Uplink Contract solo is extremely challenging due to the inherent risks and the difficulty of defending against multiple opponents.
4. What are some effective strategies for defending the Uplink beacon?
Effective defense strategies include utilizing cover, flanking routes, strategic positioning, and coordinated attacks to disrupt enemy attempts to disrupt the Uplink activation.
5. What are the best weapons and equipment for the Uplink Contract?
The ideal weapons and equipment for the Uplink Contract depend on your playstyle and the specific location. Generally, weapons with high damage output, good range, and effective attachments are preferred, along with equipment like tactical grenades, lethal grenades, and a UAV to gain situational awareness.
Tips for Uplink Mastery: Elevating Your Gameplay
- Study the Map: Familiarize yourself with the Uplink locations across various maps, understanding their strengths and weaknesses, and identifying optimal routes and flanking maneuvers.
- Utilize the Mini-Map: Keep a close eye on the mini-map to track enemy movements, anticipate potential threats, and adjust your strategy accordingly.
- Practice and Experiment: Regularly practice the Uplink Contract in various scenarios, experimenting with different strategies and adapting your approach based on your experience.
- Learn from Your Mistakes: Analyze your gameplay, identify areas for improvement, and adjust your tactics to avoid repeating past mistakes.
- Stay Informed: Keep up to date with the latest Warzone updates and patches, as changes to the map, weapons, and gameplay mechanics can significantly impact the Uplink Contract.
Conclusion: Mastering the Uplink Contract for Victory
The Satellite Uplink Contract is a dynamic and challenging aspect of Warzone, offering significant rewards for those who master its complexities. By understanding the locations, strategizing effectively, and adapting to changing circumstances, players can increase their chances of success and gain a competitive edge in the battle royale.
Remember, the Uplink Contract is not just about completing the task; it’s about outsmarting your opponents, showcasing your tactical prowess, and ultimately securing the victory. So, embrace the challenge, refine your strategies, and dominate the Warzone battlefield with the Uplink Contract as your weapon of choice.


Closure
Thus, we hope this article has provided valuable insights into Mastering the Warzone Uplink Locations: A Guide to Dominating the Satellite Uplink Contract. We appreciate your attention to our article. See you in our next article!